Download/Upload Files
Brobench lets you manage files for one or more records, including legacy Attachments and Content Files. Behavior differs depending on whether the object you’re querying stores binary data or supports attached files.
Binary Field Objects
The following objects have a binary field or have a one-to-one relationship with an object that has a binary field. For these objects, the app shows Preview Files
and Download Files actions in the context menu.
- Attachment
- ContentVersion
- ContentDocument
- ContentDocumentLink
- Document
- EventLogFile
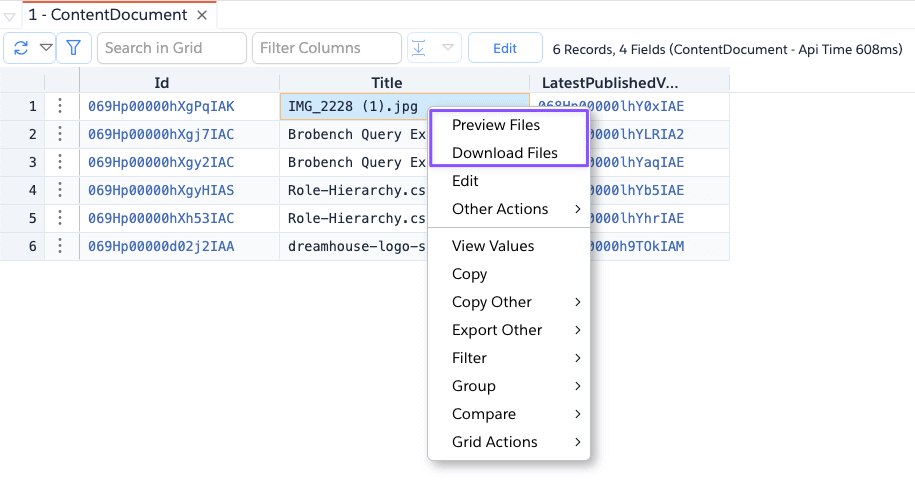
Clicking Preview Files opens a popup window for each selected record with a preview of the content.
Note that Preview is shown only if Salesforce supports previewing the file content.
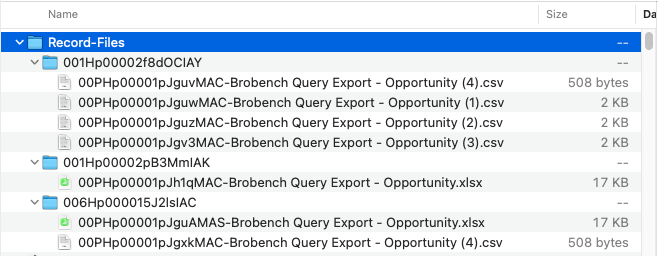
When you click Download Files, the app downloads the binary content as the file type or as a ZIP file containing all selected files. Here is what the
downloaded ZIP file looks like.
If you’re downloading EventLogFile, which tends to be massive, it is recommended to download a single record at a time. At a minimum, watch out for the total size of records you’ve selected to download. If it is too big, the app may run out of memory and crash.
Other Objects
All other objects apart from those shown above don't have a binary field, so records themselves can’t be downloaded, but files attached to those records can be.
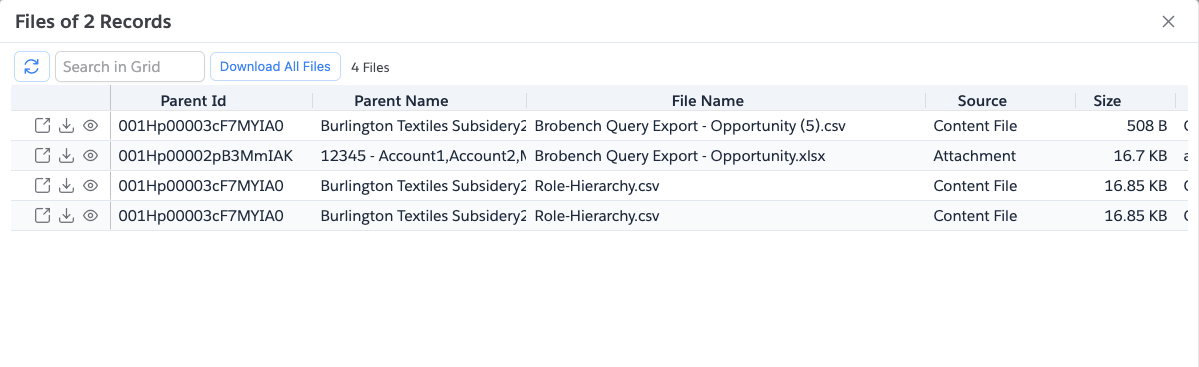
For these objects, the app shows the Actions Other -> Download/Upload Files menu item. When you click on the menu item, the app shows the dialog below with
Attachments/Content Files from the selected records.
Preview Files
Preview Files lets you view the file without downloading it, assuming Salesforce supports the file type. To preview a file, follow one of the following options.
- Click on the
Previewicon in the record actions column - Or highlight one or more records, right-click and select
Preview Files
The app opens a popup for each selected file and shows the preview.
Download Files
There are three ways to download files from this dialog:
- Click the
Downloadicon in the record actions column to download that file. - Click the
Download All Filesbutton in the grid toolbar to download all files. - Right-click on one or more records and select
Download Files.
In all cases, the app will download the selected file(s). If you’ve selected multiple files, the app will download them as a ZIP file.
Upload Files
If you’re viewing files for a record, you will see the Upload Files button. Click it to show the dialog below.

- Click on
Select Filesto select one or more files to upload. - Select
Upload Asto create the file as either a Content File or Attachment. - Click on
Uploadto upload the files. - If the upload is successful, the app will close the dialog and the Files list will be updated.
- If any uploads fail, the app will show the status as
Erroralong with the error. Hover over the status to see the error message, correct any errors, and upload again. The app will retry only failed uploads.
Delete Files
If you want to delete the files, highlight one or more records and click on Delete Files. The app will prompt you to confirm the deletion and upon
confirmation will delete the files.
If you are dealing with Content File and just want to remove the association with the record, see Unlink Files. Delete Files
action deletes all ContentDocument, ContentVersion and associated ContentDocumentLink records
Unlink Files
This action is applicable only for Content File records and removes the association between the record and the file. After the action,
ContentDocument and ContentVersion records aren’t touched but ContentDocumentLink records are deleted.